In this article we will guide you on how to upload your website files to your PleskPanel Control Panel.
By default, under Parallels Plesk Hosting Account, the public folder to which you must upload your website files is “httpdocs” folder.
You can upload files using one of the 2 below methods.
1. Using File Manager from your PleskPanel Hosting Account
Check the below steps to upload using file manager.
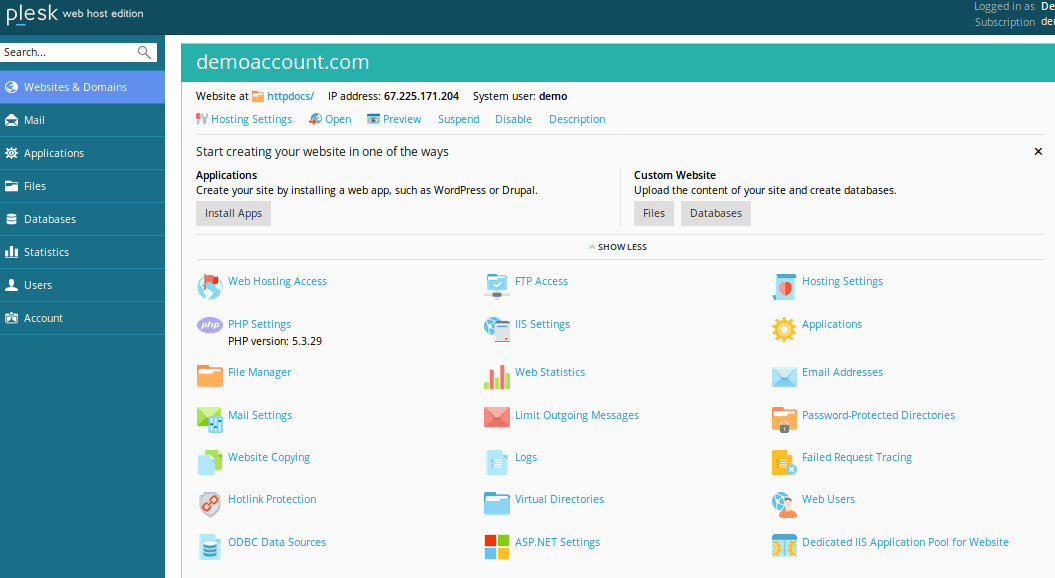
- Login to your PleskPlanel with the logins which were provided by your web-hosting provider.
- Now you will see lot of icons out of them click on “File Manager” icon to open the “httpdocs” folder or Find “httpdocs” folder below the Domain Name.
- In the File Manager, click on the “Upload Files” option in the toolbar on top. Browse and select your website file you want to upload.
- For faster upload or restore of your website, we recommend that you create a compressed file in “.zip” folder of your website files and folders on your local computer and then Browse & Select to upload. This will upload your .zip file.
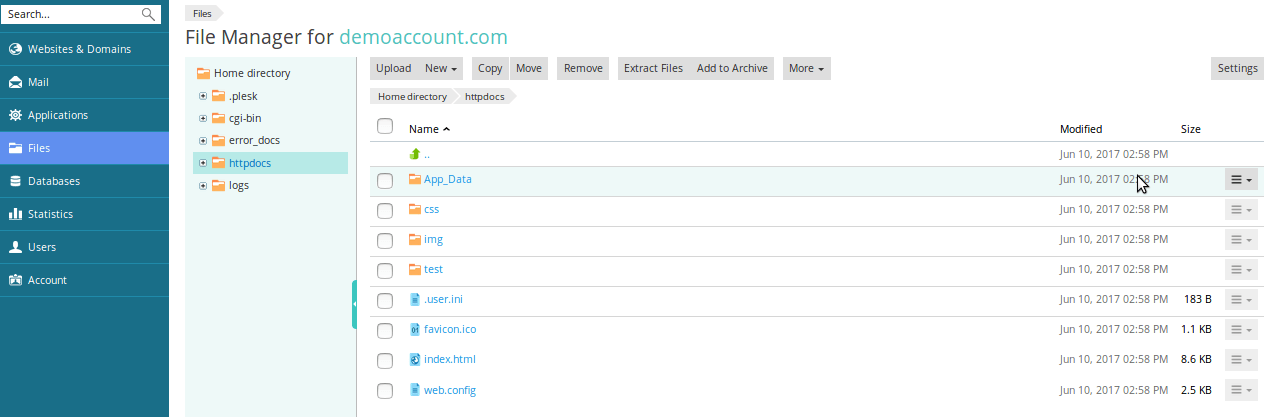
After Uploading Files
Once website .zip file is uploaded and appears in the list, click on the checkbox next to it and then find “Extract Files” and click on it. This will unzip all your website files and folders to the httpdocs folder.
If you want to edit pages of your website, you can do it from File Manager. It provides an HTML editor that allows visual editing of HTML pages (without needing to manually type HTML tags).
To edit a file in the HTML editor, place the mouse pointer over the file, click ![]() to open the file's context menu, and select Edit in HTML Editor.
to open the file's context menu, and select Edit in HTML Editor.
You can also edit files in the File Manager's text editor. To open a file in the text editor, click ![]() to open the file's context menu, and select Edit in Text Editor.
to open the file's context menu, and select Edit in Text Editor.
If you have files or web pages that you want to make inaccessible on the Internet, change these file access permissions in File Manager from your PleskPanel.
To edit access permissions for a file or a directory, click ![]() to open the context menu and select Change Permissions.
to open the context menu and select Change Permissions.
2. Upload using FTP Client Software
You can use your FTP Account via a FTP client software like Filezilla from your Local Computer to connect to server and upload or restore your website files.
Go through below steps to perform this.
- Open your FTP Client Software and login to your FTP Account using Hostname, FTP Username and FTP Password.
- Once logged in, navigate to folder “httpdocs” from the server folder browser.
- Then navigate to the location where you have your website files and folders on your local computer from Local Machine browser.
- Then Select all Files and Folders on your local computer and click on the Upload option (usually accessed on right click). This will start uploading Files and Folders of your website to your Hosting Account.
Once uploaded, your website files are ready to use.
Note
If you are uploading or restoring website files for the first time then make sure you delete the “index.html” file under “httpdocs” folder first which is the default Parallels Plesk page for website.
Also, by default your website homepage file must be named as index.html or index.php or default.aspx. If it is named differently than your site may give a 403 error when opened in browser.
Conclusion
By the end of this article, you should be able to upload your files to Plesk Panel to publish your website. Also, we provide the best Windows Hosting plans.