 Phone: +91-98-85440683
 Login
LoginThis tutorial will show you how to manually install WordPress.

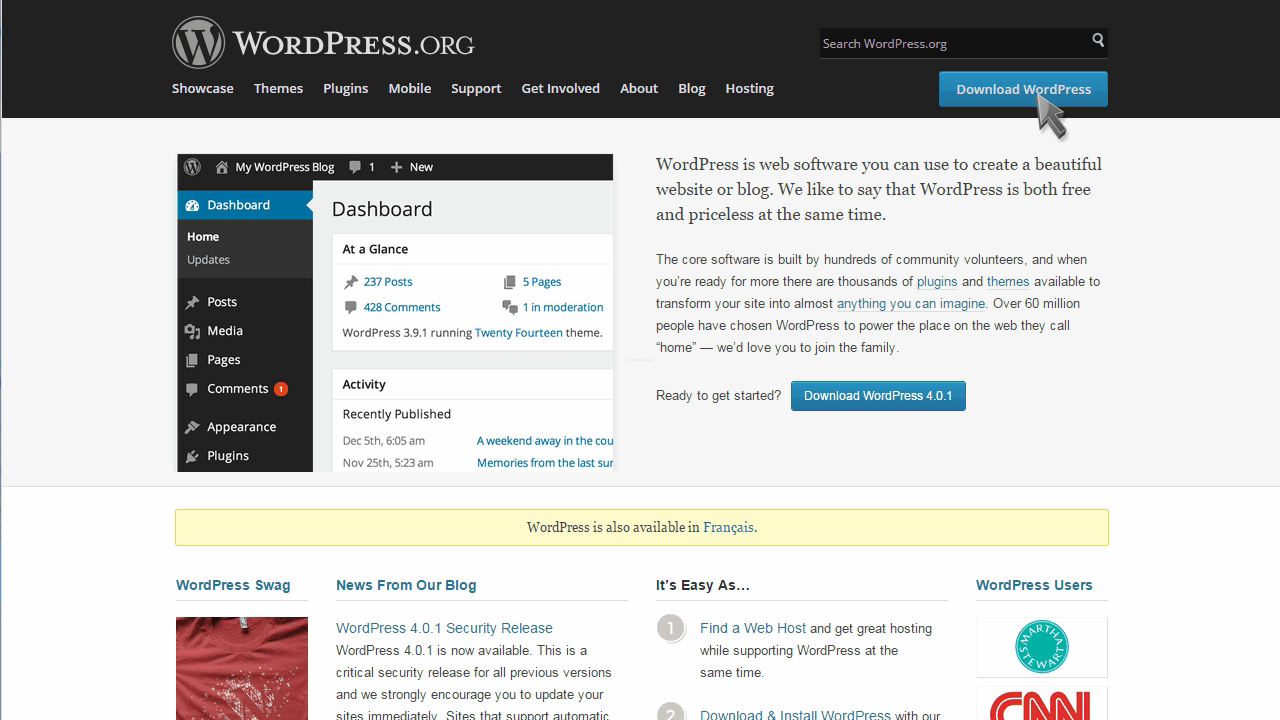
For this tutorial, you will need to go to wordpress.org
Click the Download WordPress button.
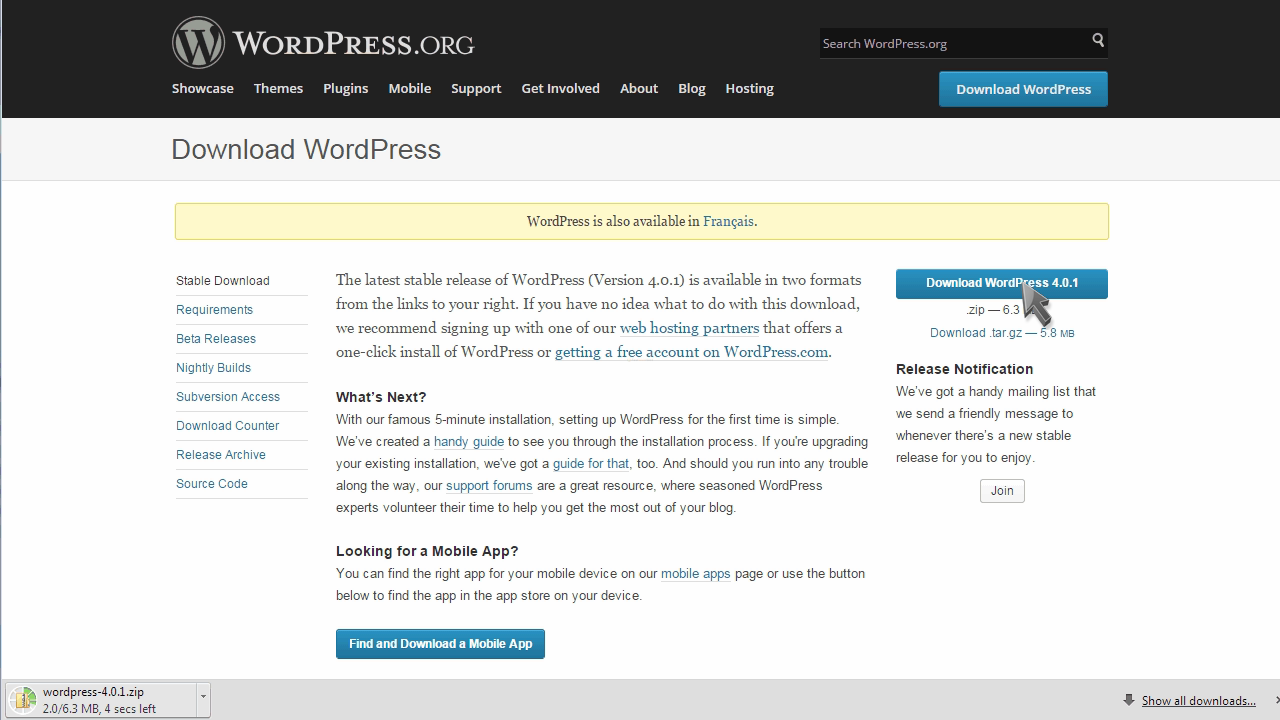
Then click to download the latest version of WordPress.

Save the file, then go to where it was downloaded.
Extract the ZIP folder, and open it.
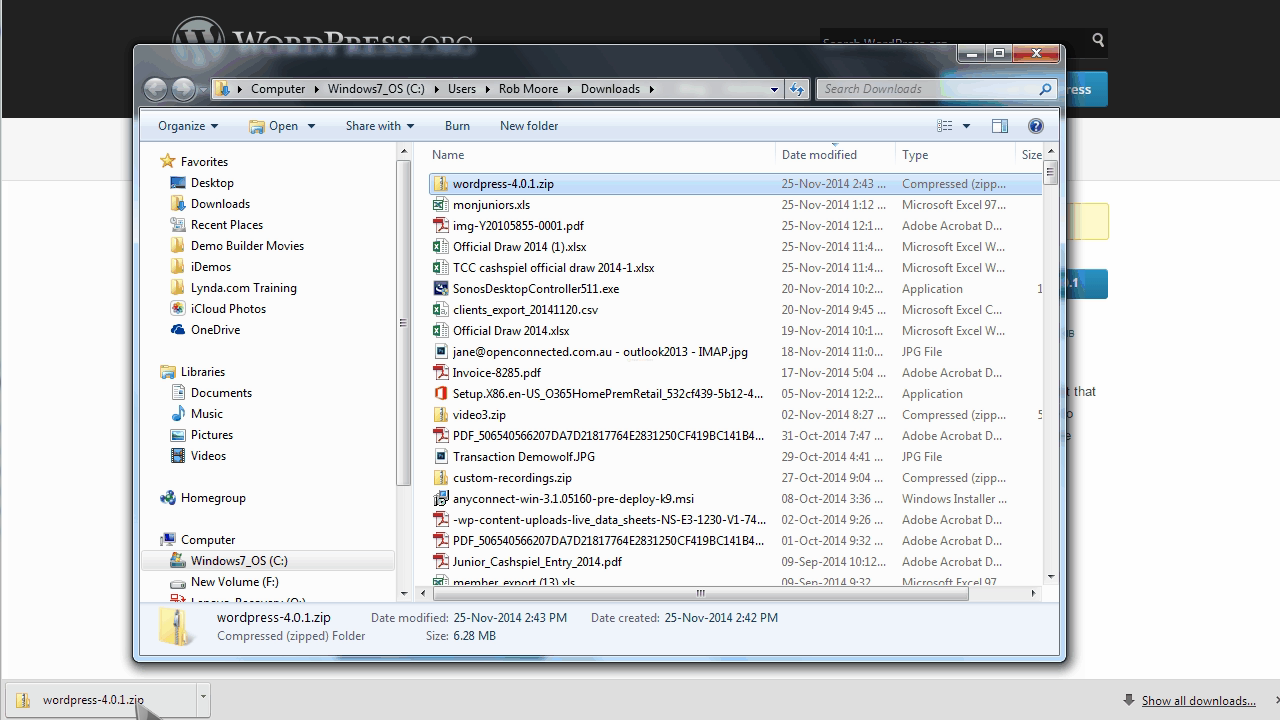
Navigate to the WordPress folder to see its contents.

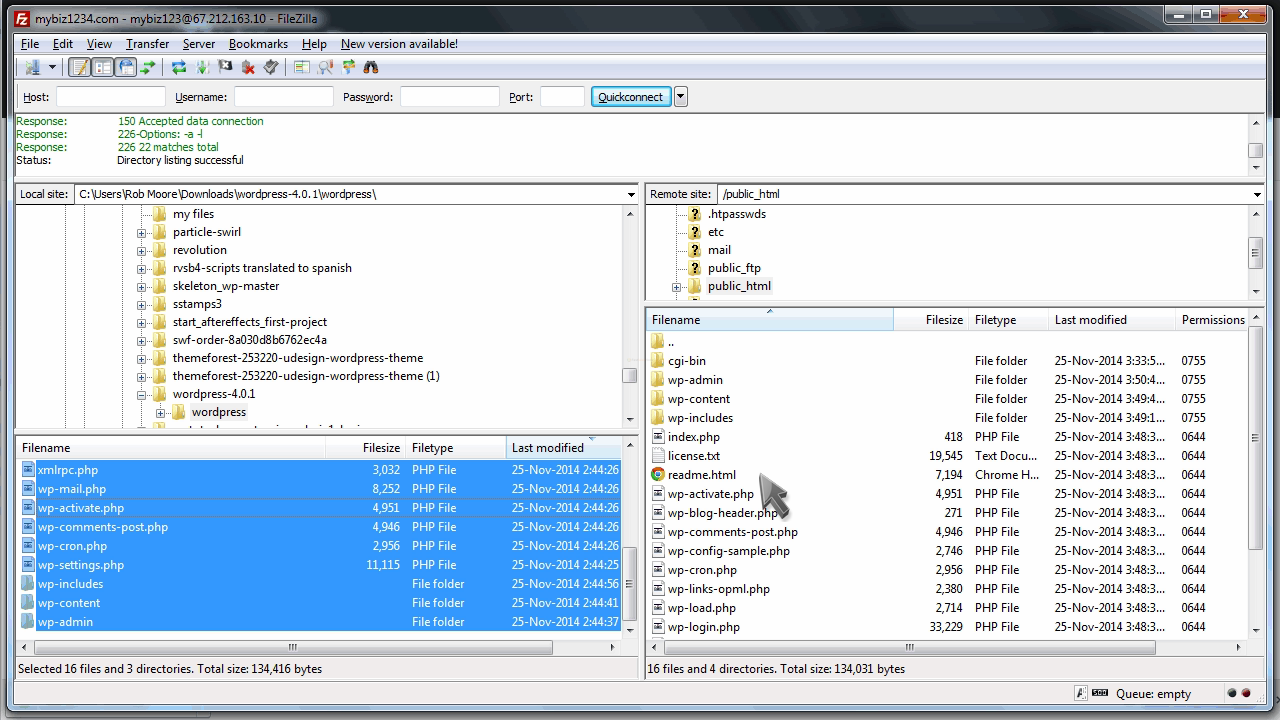
You will now need to upload all the contents of this folder to your hosting account, using an FTP manager like FileZilla.
This is FileZilla… let’s go ahead and upload the WordPress files.

Once the upload is complete, open your browser and navigate to your website.
You’ll be prompted to setup your new copy of WordPress.
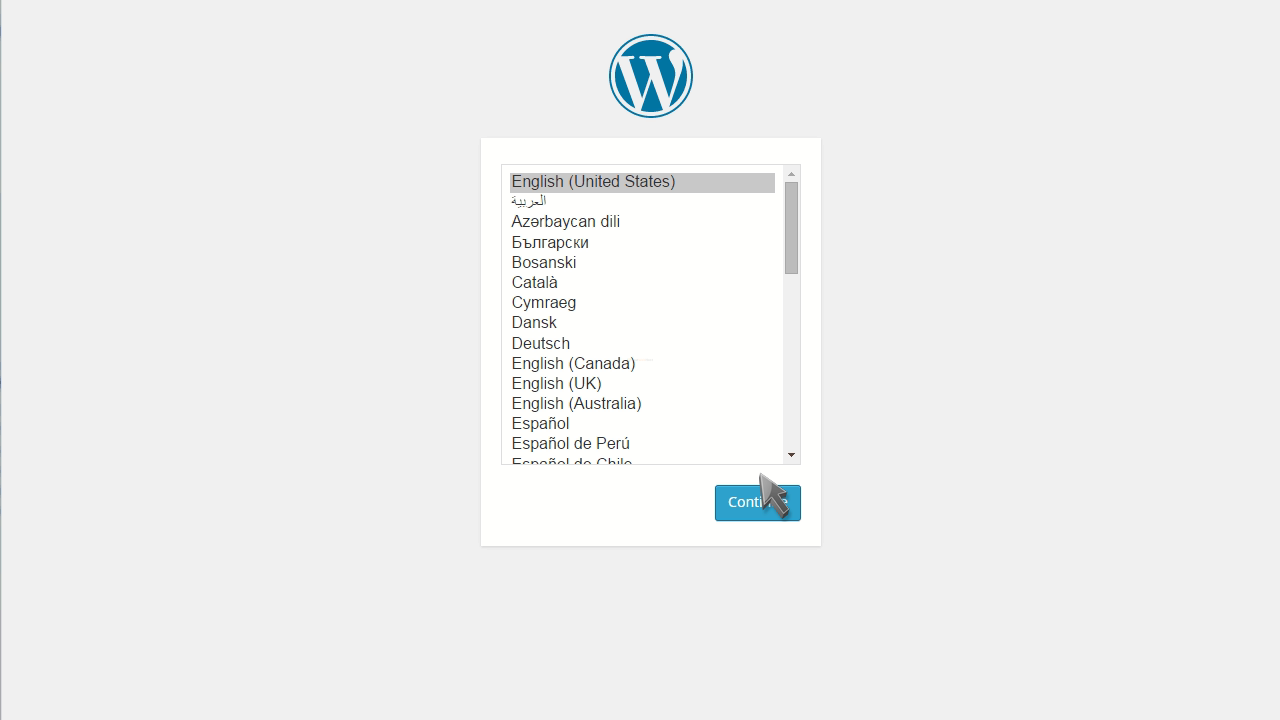
First, choose your language.
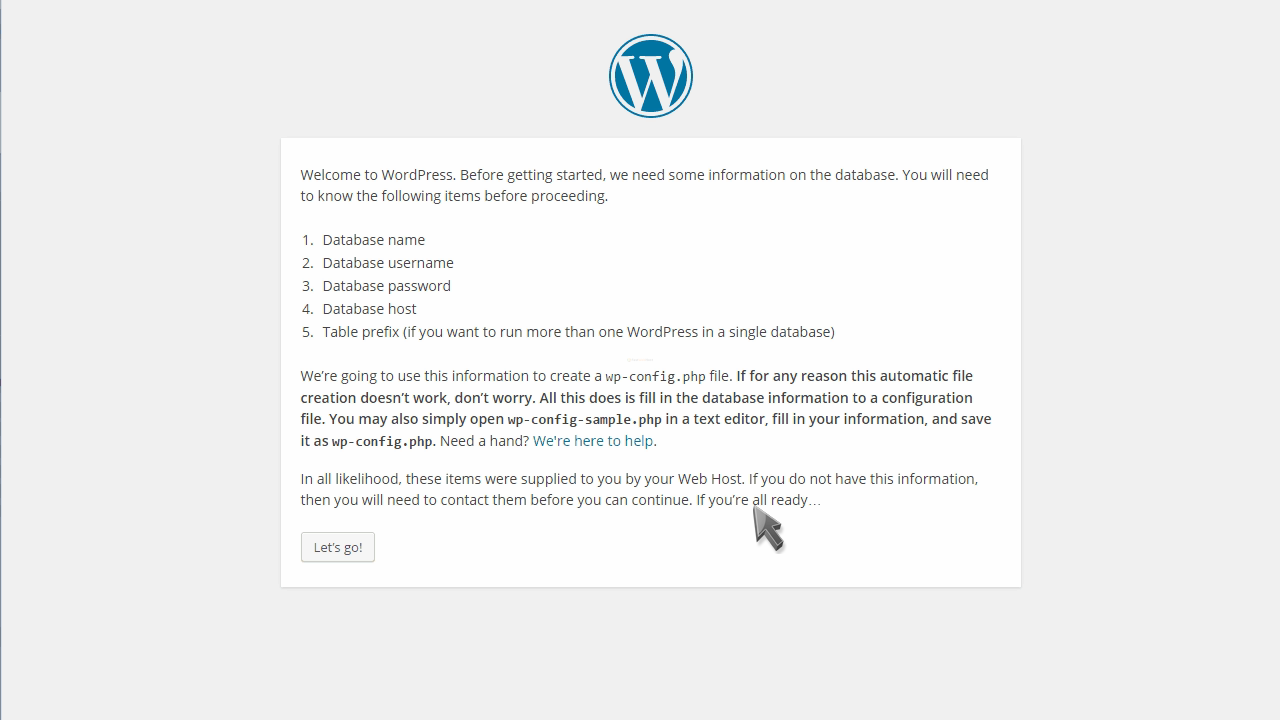
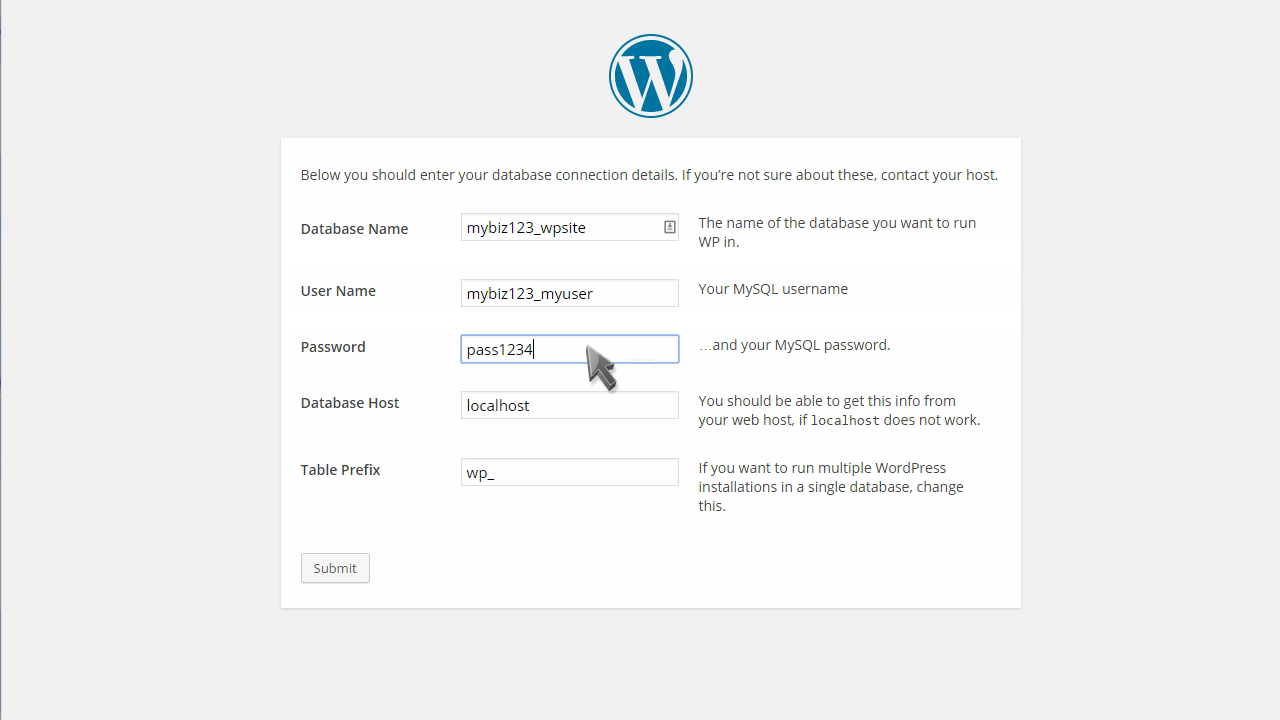
Take note that you’ll need a MySQL database setup in your hosting account, and you’ll need to know what the database name, username and password is before proceeding.
When ready, click “Let’s go”.
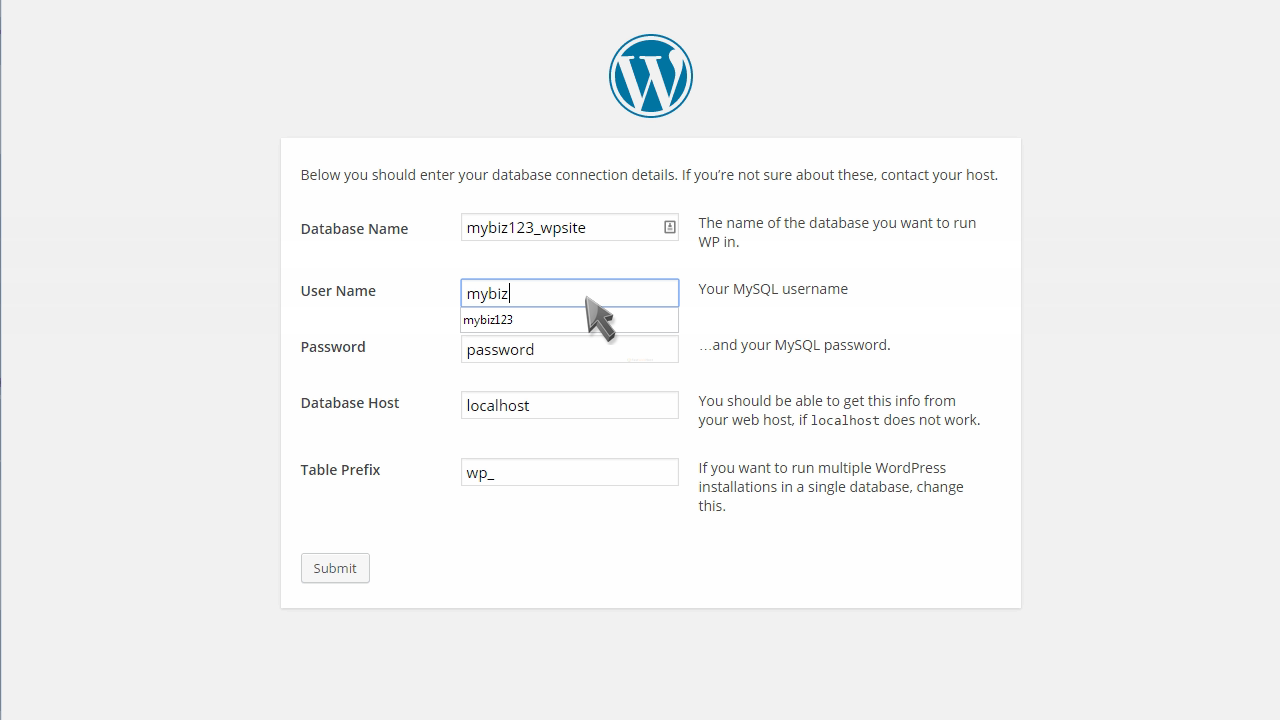
Enter your database name, username and password.
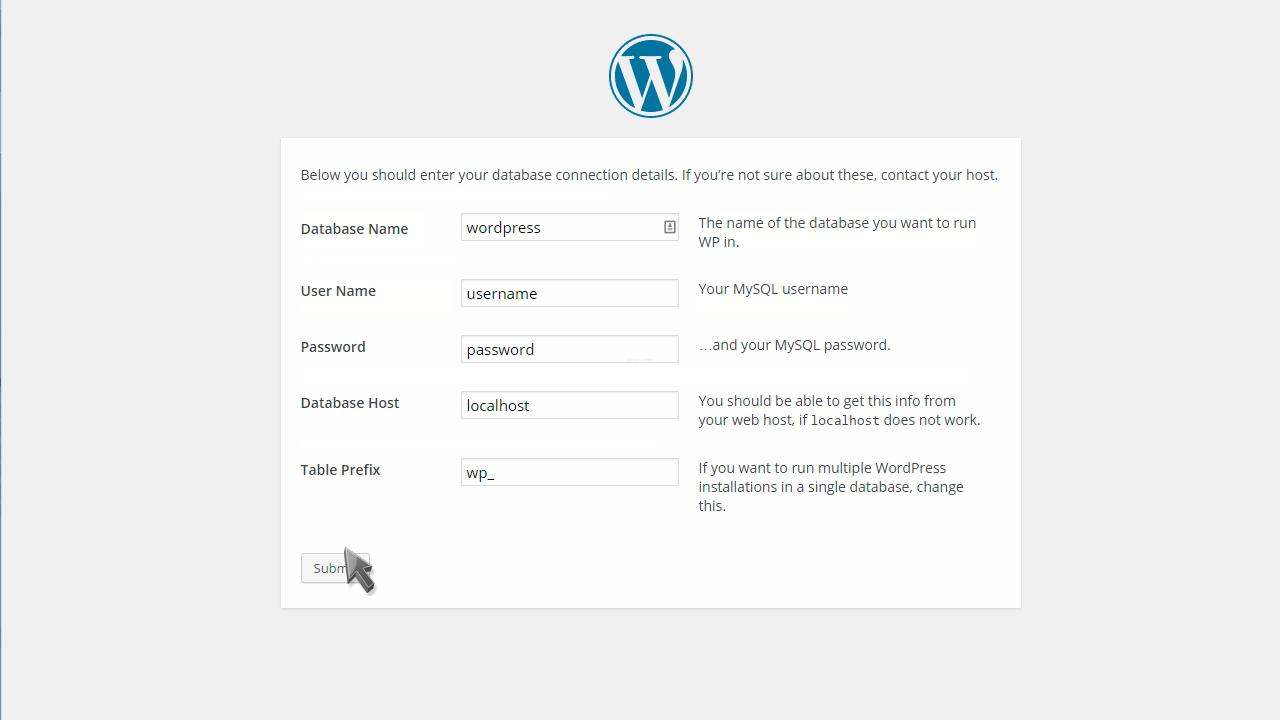
Then click Submit.
Then click “Run the Install”.
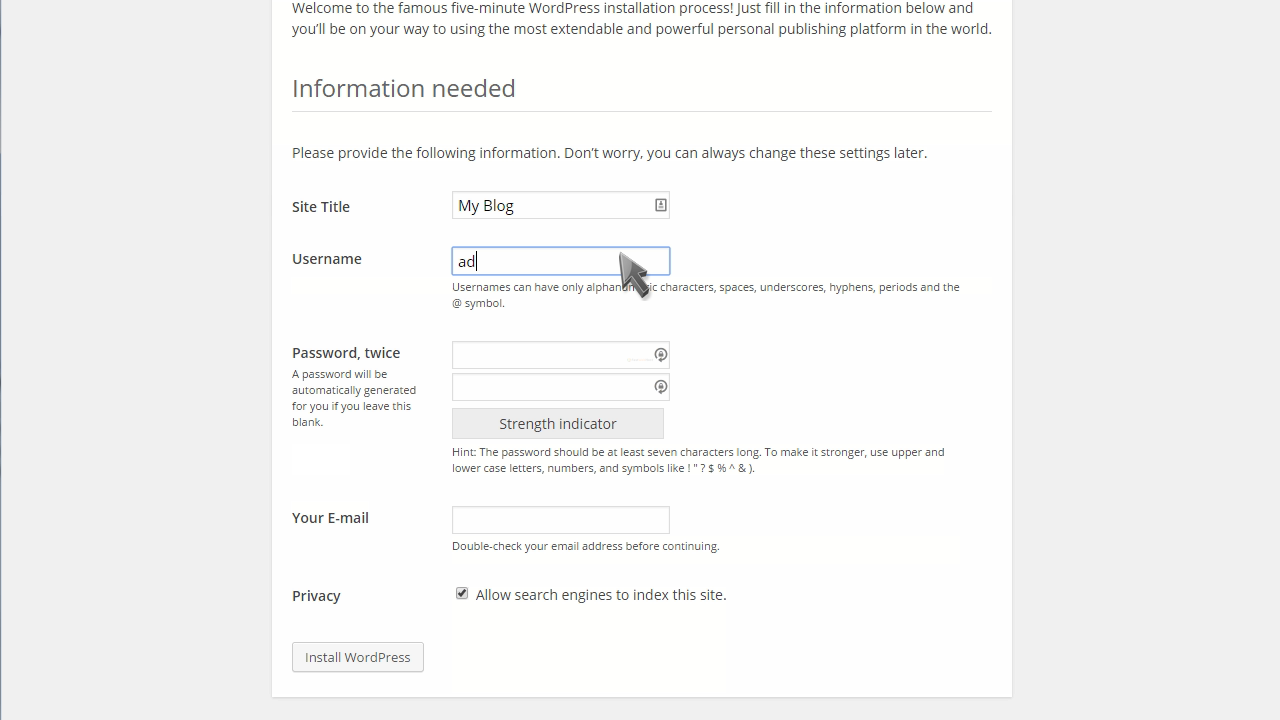
Enter a title for your WordPress blog.
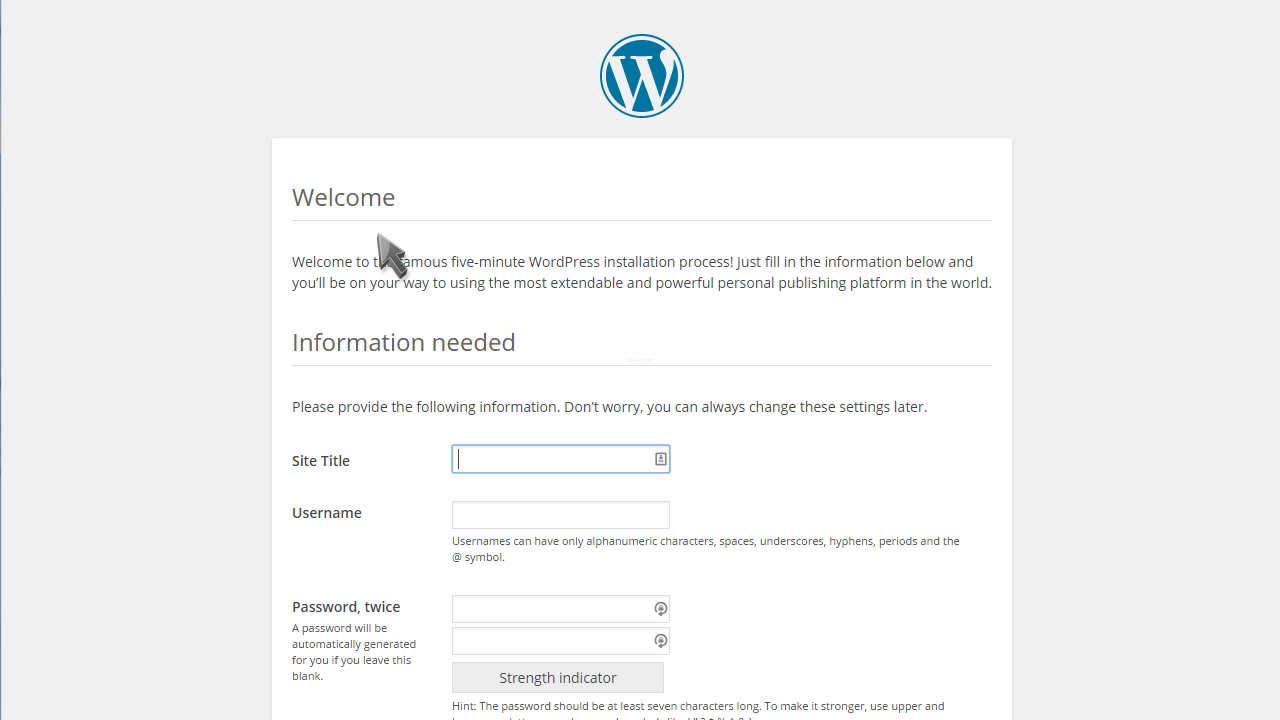
Enter an admin username.
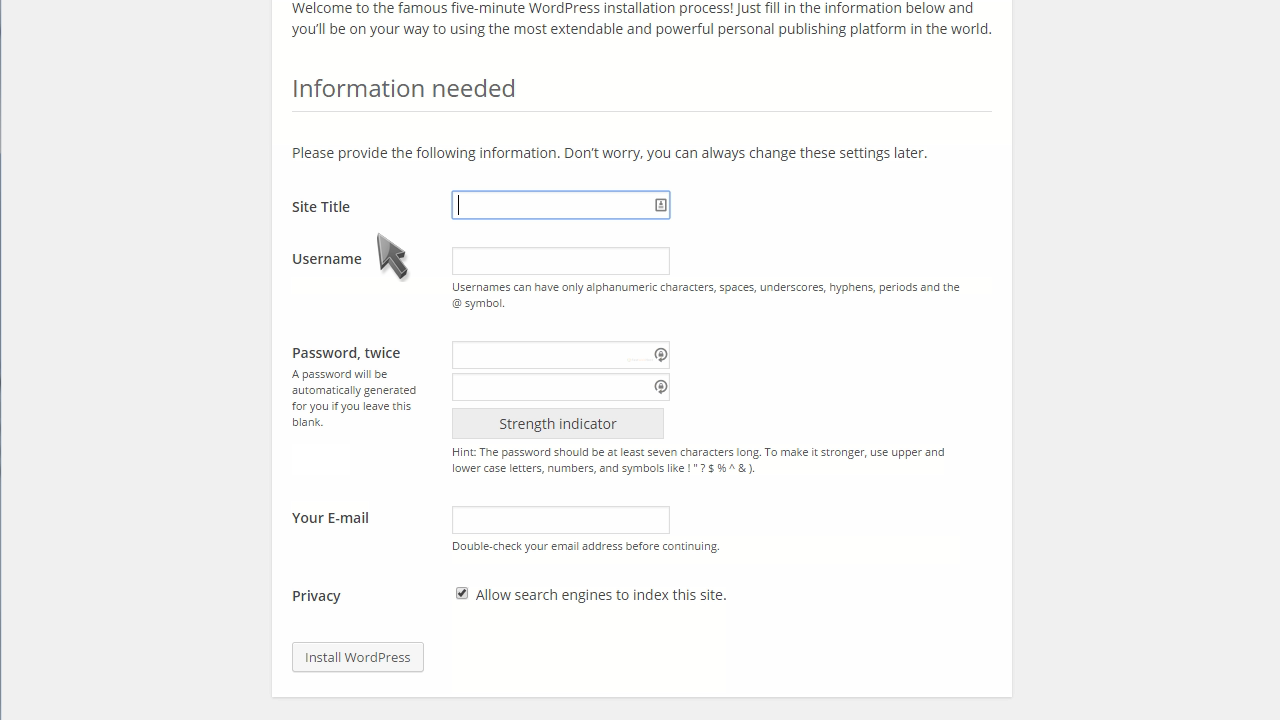
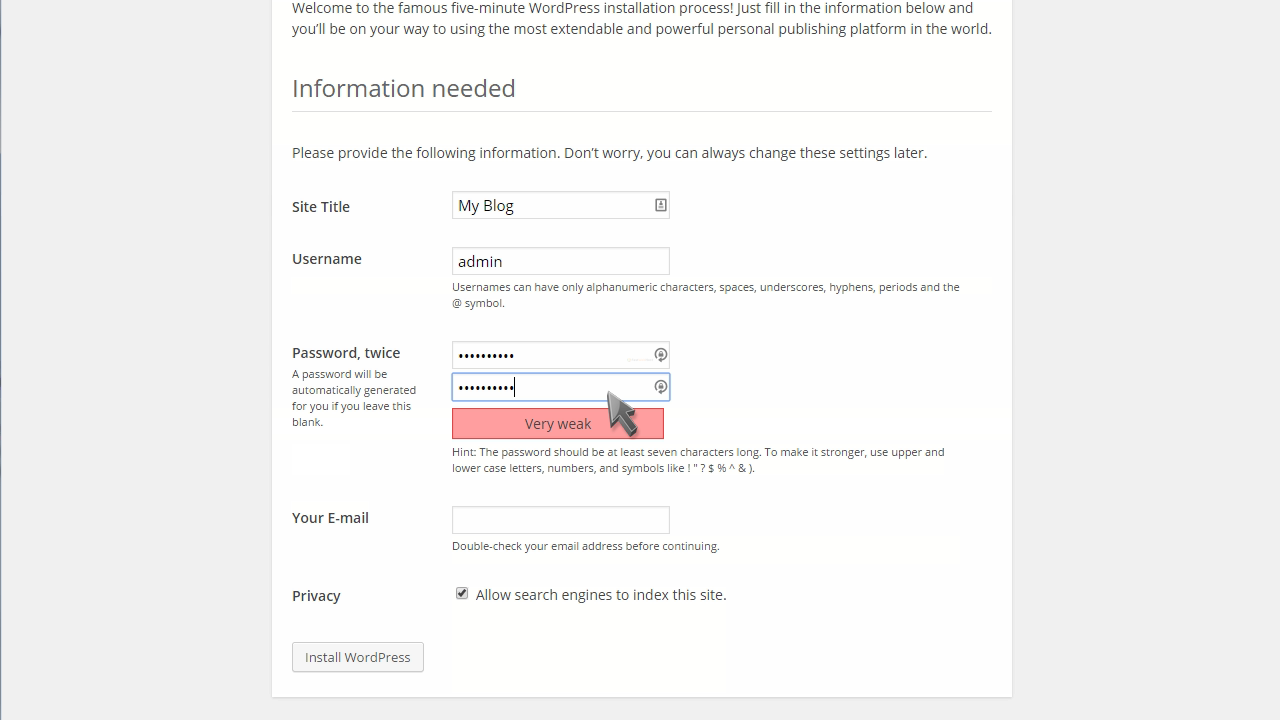
Then enter and confirm an admin password.
Enter your email address here.
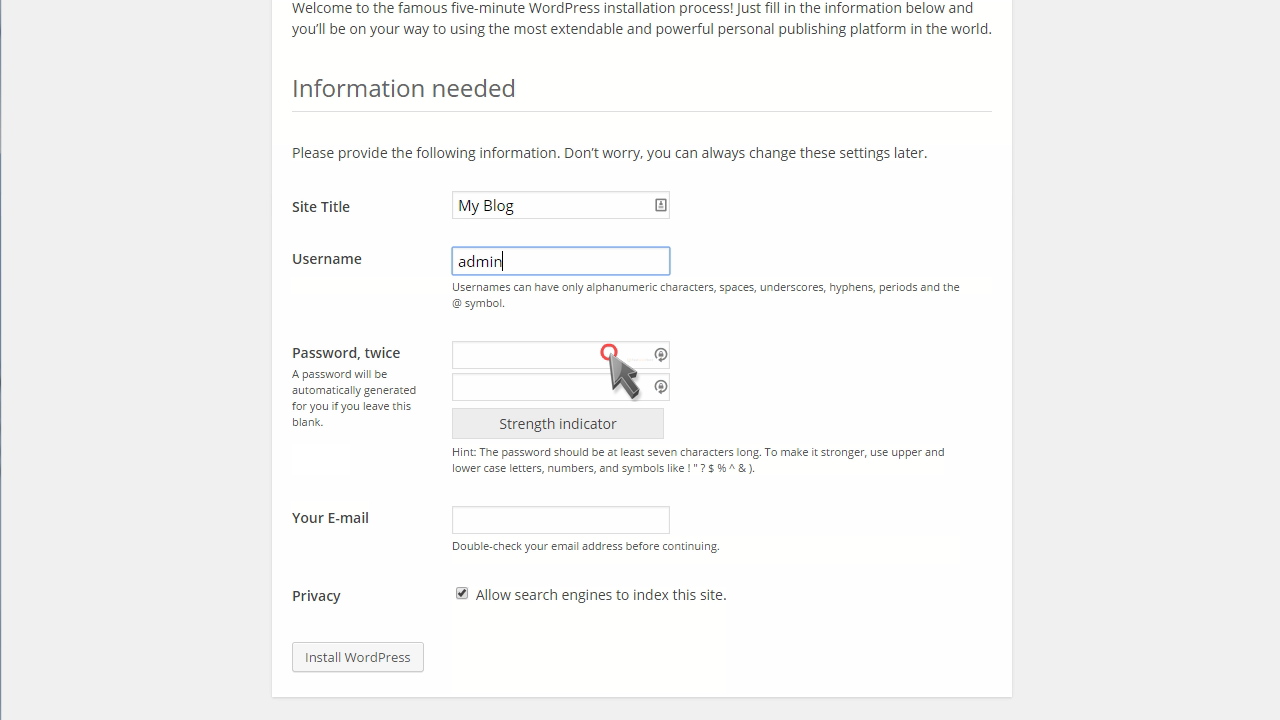
Then click Install WordPress.
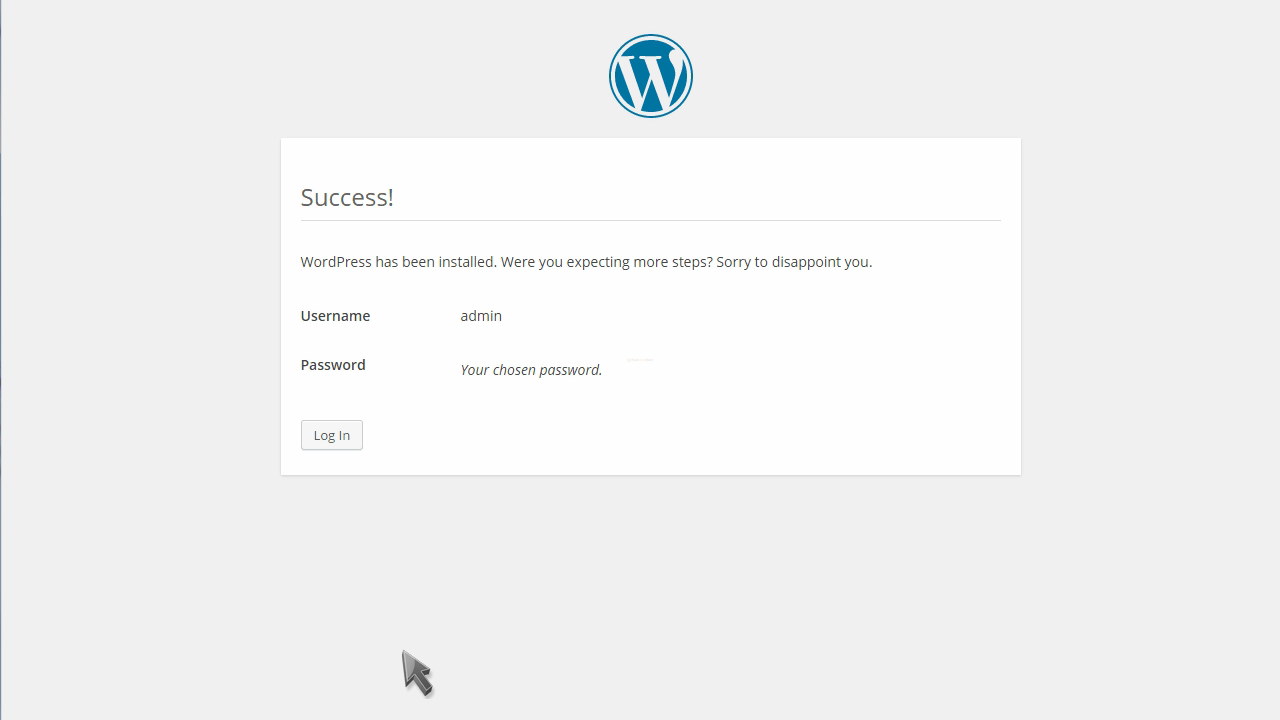
That’s it! WordPress has been installed, and you can now click to login.
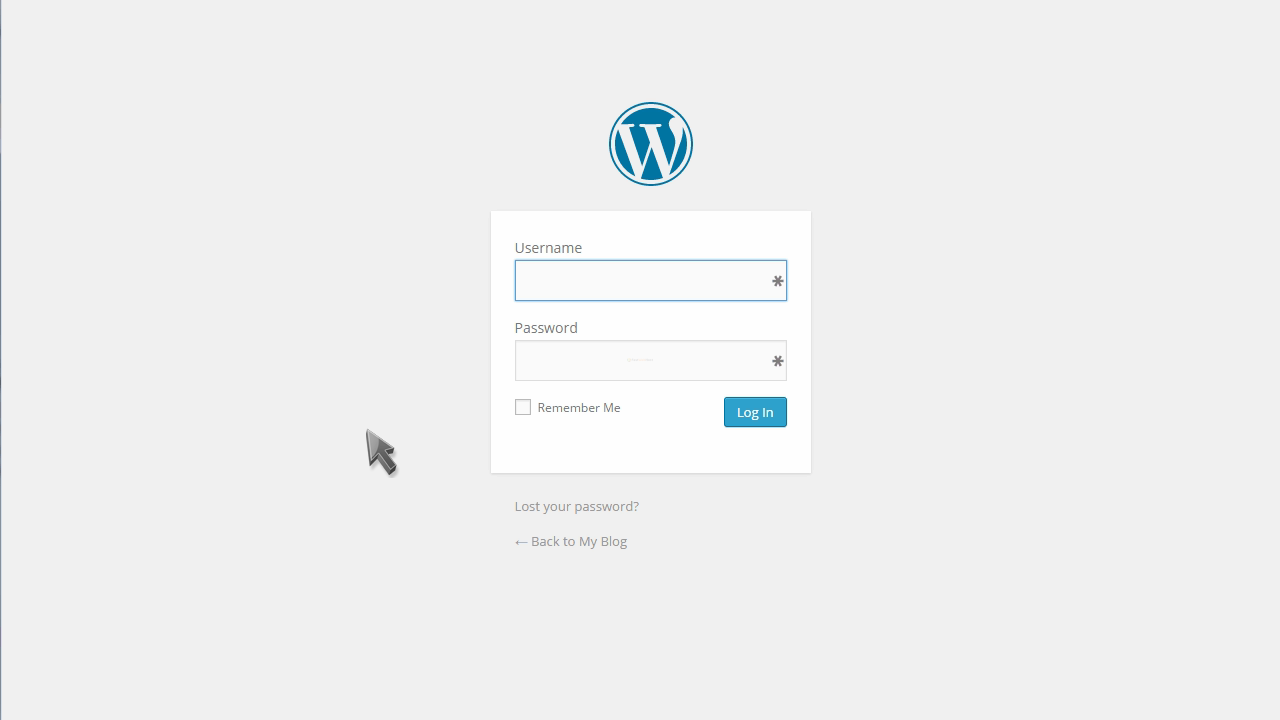
Login using the credentials you just created.
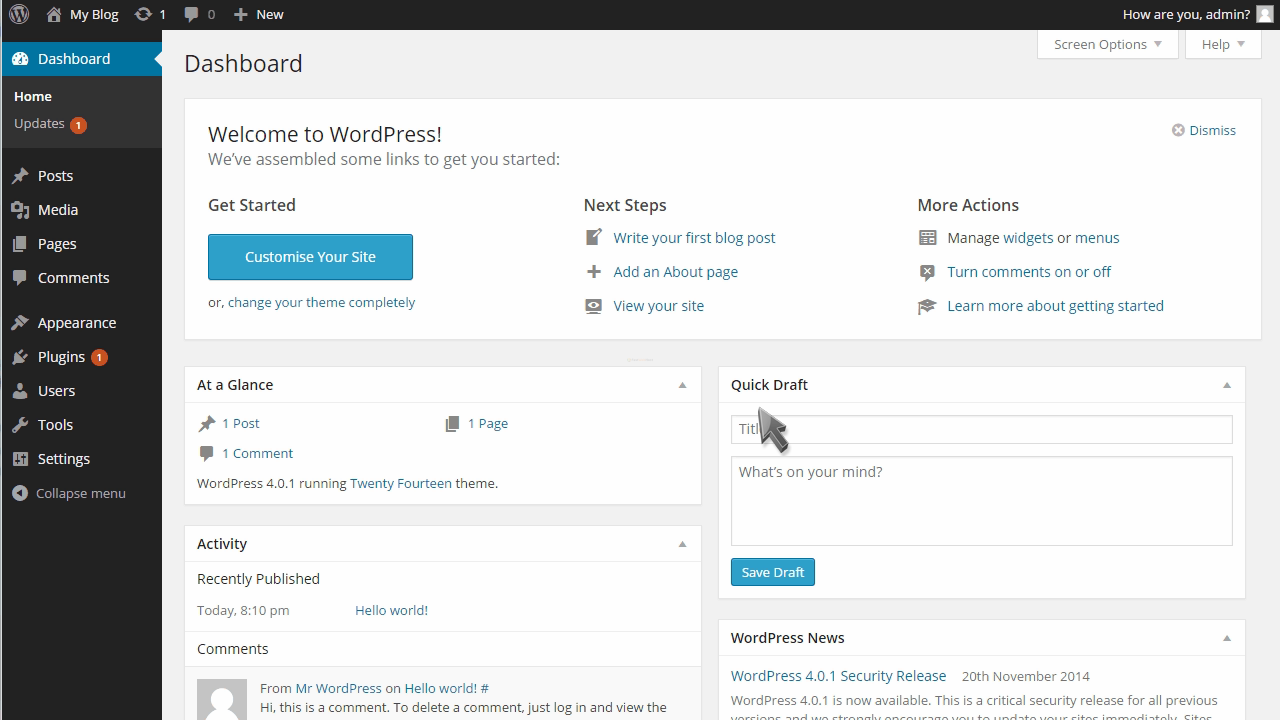
That’s it! This is your admin panel from where you can manage your new blog.
This is the end of the tutorial. You now know how to install WordPress.
Watch our video tutorial here.